Paving Slabs Collection
-
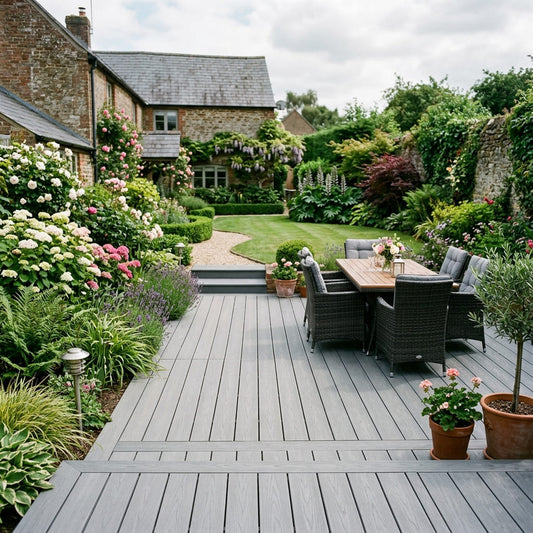
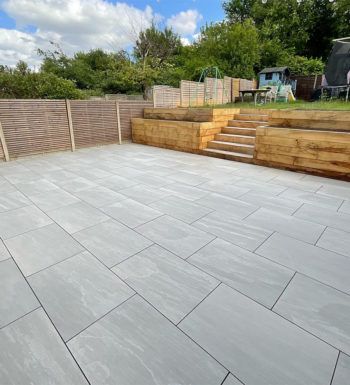
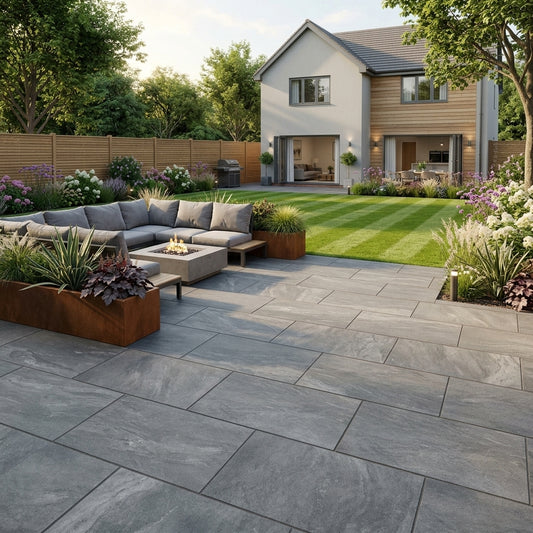
Anthracite Lite Porcelain Paving Slabs 900x600x20 mm (21.6 SQM, 40 Slabs Per Pack)
Regular price £439.00 GBPRegular priceUnit price per -
Kandla Grey Porcelain Paving Slabs
Regular price £449.00 GBPRegular priceUnit price per£599.00 GBPSale price £449.00 GBPSale -
Anthracite Dark Porcelain Paving Slabs 900x600x20 mm (21.6 SQM, 40 Slabs Per Pack)
Regular price £445.00 GBPRegular priceUnit price per -
Copper Slate Porcelain Paving Slabs 900x600x20 mm (21.6 SQM, 40 Slabs Per Pack)
Regular price £549.00 GBPRegular priceUnit price per -
EC Grey Porcelain Paving Slabs 900x600x20 mm (21.6 SQM, 40 Slabs Per Pack)
Regular price £439.00 GBPRegular priceUnit price per -
Bodo White Porcelain Paving Slabs 900x600x20 mm (21.6 SQM, 40 Slabs Per Pack)
Regular price £439.00 GBPRegular priceUnit price per -
Brazilian Black Porcelain Paving Slabs 900x600x20 mm (21.6 SQM, 40 Slabs Per Pack)
Regular price £449.00 GBPRegular priceUnit price per -
Crossover Grey Porcelain Paving Slabs 900x600x20 mm (21.6 SQM, 40 Slabs Per Pack)
Regular price £439.00 GBPRegular priceUnit price per -
Crossover White Porcelain Paving Slabs 900x600x20 mm (21.6 SQM, 40 Slabs Per Pack)
Regular price £439.00 GBPRegular priceUnit price per -
Cutstone Sand Porcelain Paving Slabs 900x600x20 mm (21.6 SQM, 40 Slabs Per Pack)
Regular price £439.00 GBPRegular priceUnit price per


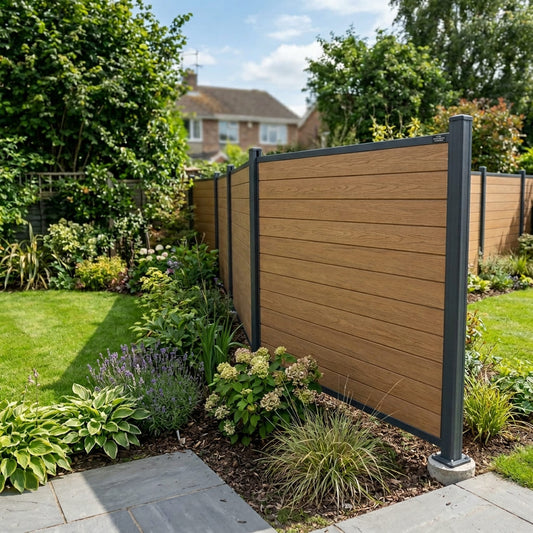
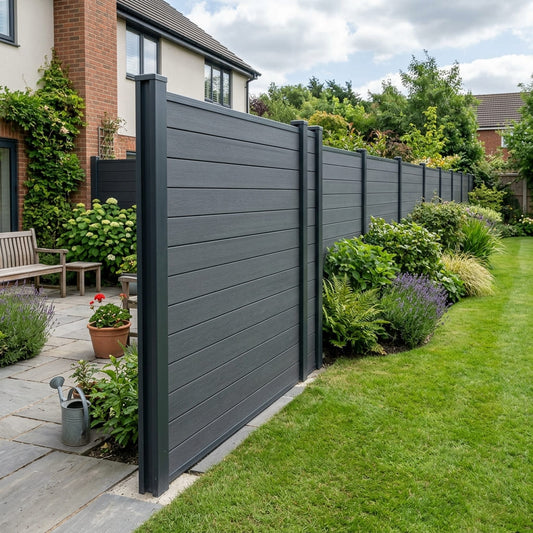
Composite Fencing Panel Installation Guide
Composite Decking and Fencing Set Collection
-
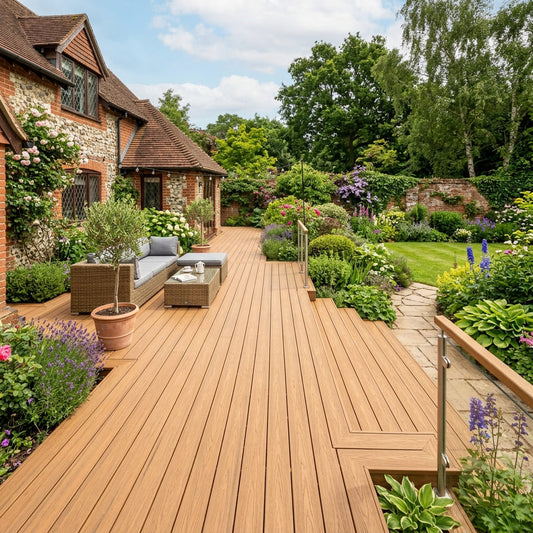
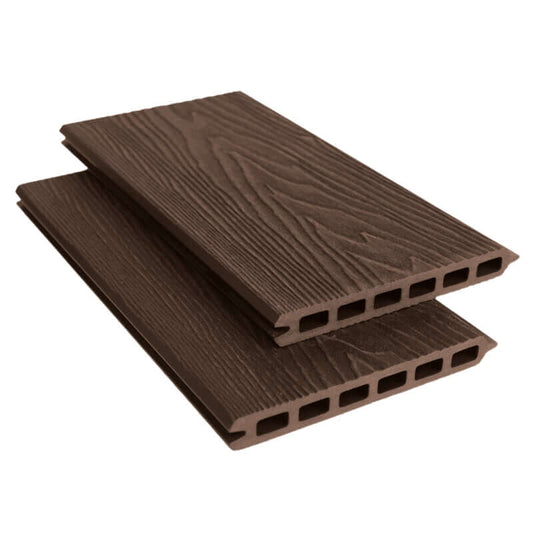
Premium Composite Decking Board Teak (3600x150x25MM)
Vendor:Paving and SlabsRegular price £23.79 GBPRegular priceUnit price per -
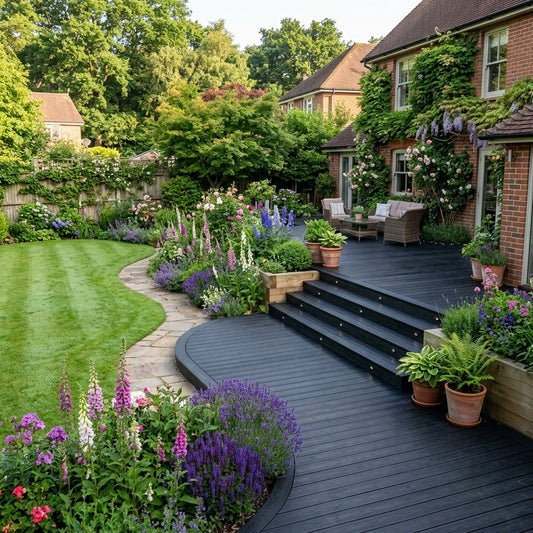
Premium Composite Decking Board Black (3600x150x25MM)
Vendor:Paving and SlabsRegular price £23.79 GBPRegular priceUnit price per -
Premium Composite Fencing Panel Kit Teak
Vendor:Paving and SlabsRegular price £249.00 GBPRegular priceUnit price per -
Premium Composite Fencing Panel Kit Grey
Vendor:Paving and SlabsRegular price £249.00 GBPRegular priceUnit price per -
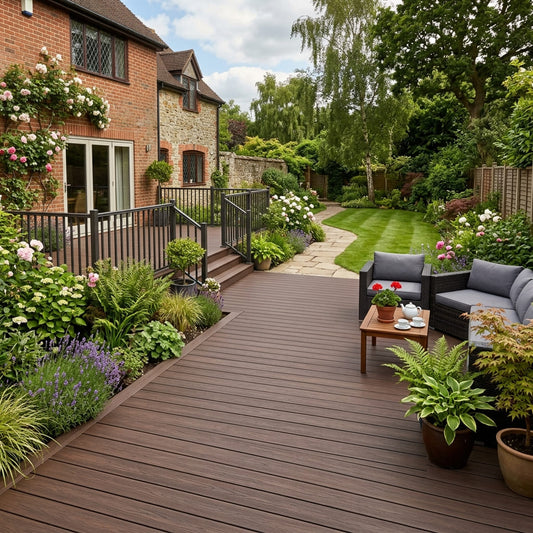
Premium Composite Decking Board Oak (3600x150x25MM)
Vendor:Paving and SlabsRegular price £23.79 GBPRegular priceUnit price per -
Premium Composite Fencing Panel Kit Oak
Vendor:Paving and SlabsRegular price £249.00 GBPRegular priceUnit price per -
Premium Composite Fencing Panel Kit Black
Vendor:Paving and SlabsRegular price £249.00 GBPRegular priceUnit price per -
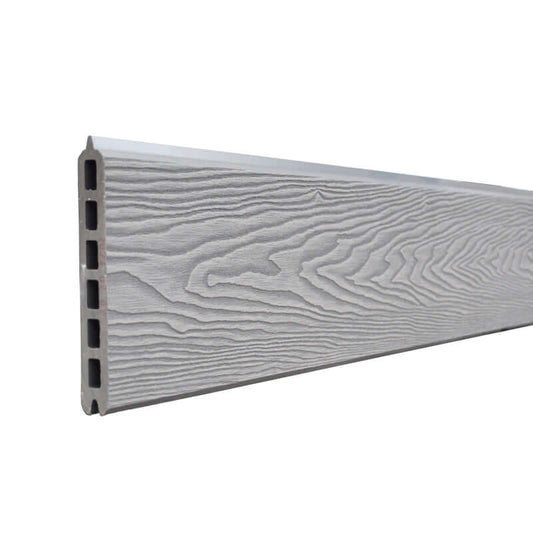
Premium Composite Decking Board Grey (3600x150x25MM)
Vendor:Paving and SlabsRegular price £23.79 GBPRegular priceUnit price per -
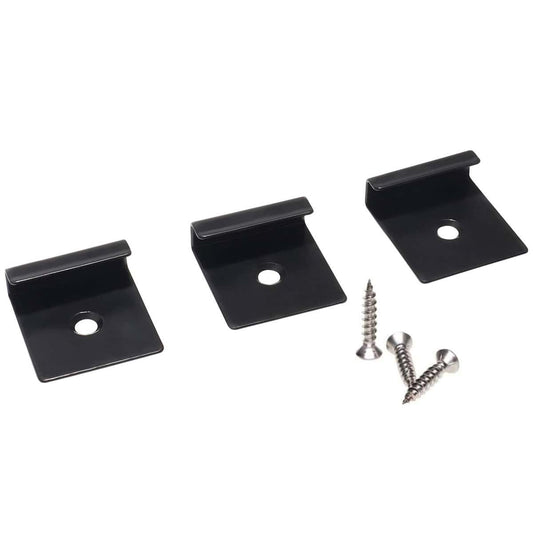
Composite Decking Corner Trim Set
Vendor:Paving and SlabsRegular price £20.00 GBPRegular priceUnit price per£20.00 GBPSale price £20.00 GBP -
Composite Decking Trim Screw Set
Vendor:Paving and SlabsRegular price £20.00 GBPRegular priceUnit price per -
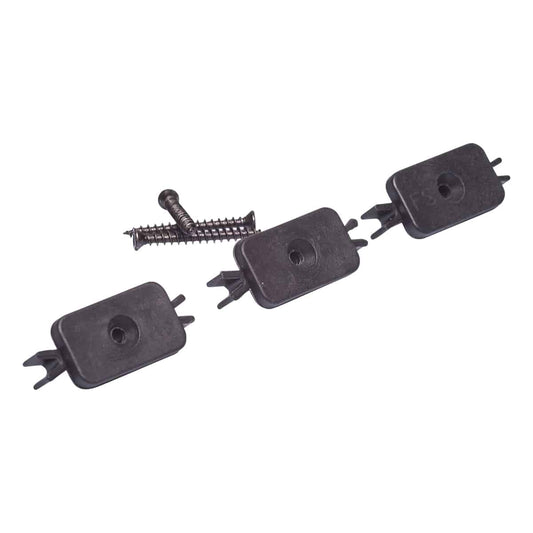
Composite Decking Starter Clip Set
Vendor:Paving and SlabsRegular price £25.00 GBPRegular priceUnit price per -
Composite Decking Plastic Fast Clip Set
Vendor:Paving and SlabsRegular price £25.00 GBPRegular priceUnit price per